Hmmm, I am writing this post, but as yet unsure whether I will publish it or not!
A few people have asked me how to "do collage". This is like asking someone how they paint! I don't know how I do it - I just do it! But, I thought I would have a little try at a blog post, to explain - mostly through pictures. I am no teacher....but I will do my best!
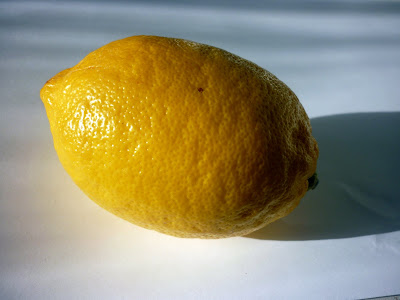
So I decided I would do something simple: a lemon. Except that a lemon did not turn out to be simple at all - not least because yellow seems to be the least common colour in my whole stash of magazines!! Nevertheless.....here goes!
A few people have asked me how to "do collage". This is like asking someone how they paint! I don't know how I do it - I just do it! But, I thought I would have a little try at a blog post, to explain - mostly through pictures. I am no teacher....but I will do my best!
So I decided I would do something simple: a lemon. Except that a lemon did not turn out to be simple at all - not least because yellow seems to be the least common colour in my whole stash of magazines!! Nevertheless.....here goes!

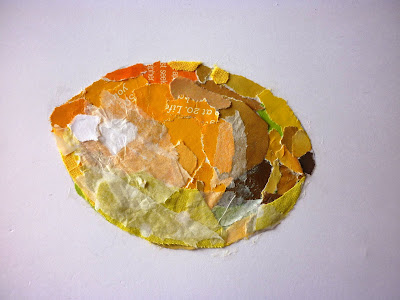
So, this lemon! If you look at it, you may see as well as yellow, there are shades of orange, lime green and ochre there.
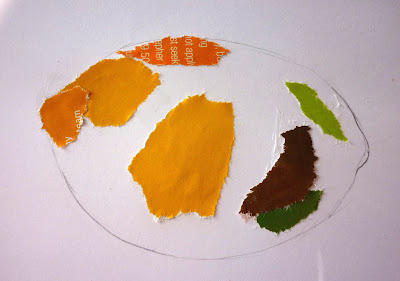

I started by drawing the outline and began to fill in - start with your basic light and shade. I often end up with layer upon layer of paper or fabric, so you neednt worry if its wrong at this stage (this is why I am hopeless at watercolour - when you have to get it right first-time!)


I like to use pieces of paper with a bit of text on. I try and use the line of the text to follow the form of the object.

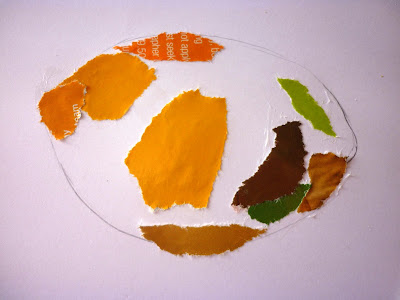
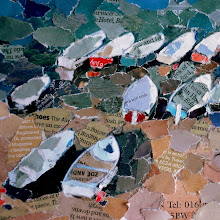
Personally I prefer to rip my paper, but you can create lovely collages using little squares cut with scissors.

White tissue paper is a staple for me: I often use it in landscape to make the background seem further away, or take the vibrancy down a notch.
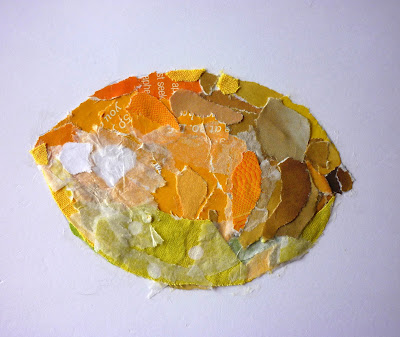

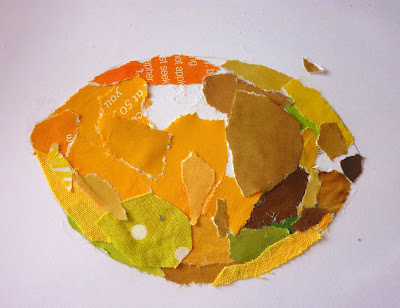
Almost finished. I feel that I overworked this, normally I would use half as many pieces, but hey-ho! I never claimed to be perfect!!

And there you have it! Not my best piece of work, but hopefully you get the idea!
Maybe I have inspired you to have a try? If so, I would love to see (yours will probably be better than mine!) Leave a link on here if you make a collage of your own!
Happy creating folks!!
Maybe I have inspired you to have a try? If so, I would love to see (yours will probably be better than mine!) Leave a link on here if you make a collage of your own!
Happy creating folks!!


.JPG)


